|
Zimbra : Setup
2015/04/02 |
|
Initial Setup for Zimbra.
|
|
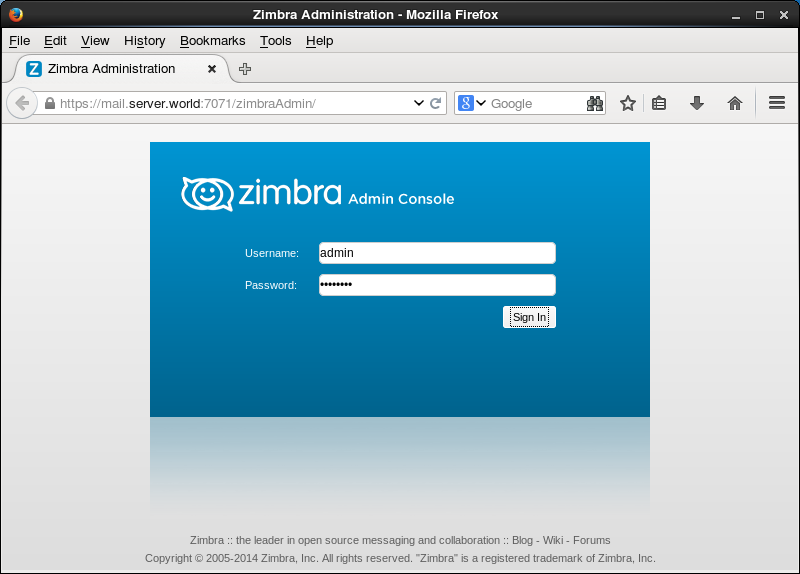
| [1] | Access to "https://(your server's hostname or IP address):7071/" from any computer with Web browser, then following screen is shown. Login with amin user and password which is set during installation. |
|
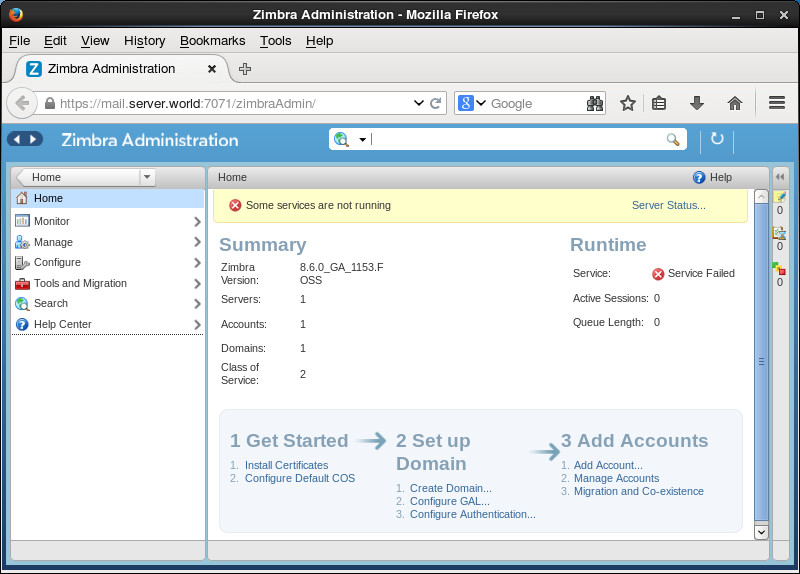
| [2] | Click "Install Certificates". |
|
|
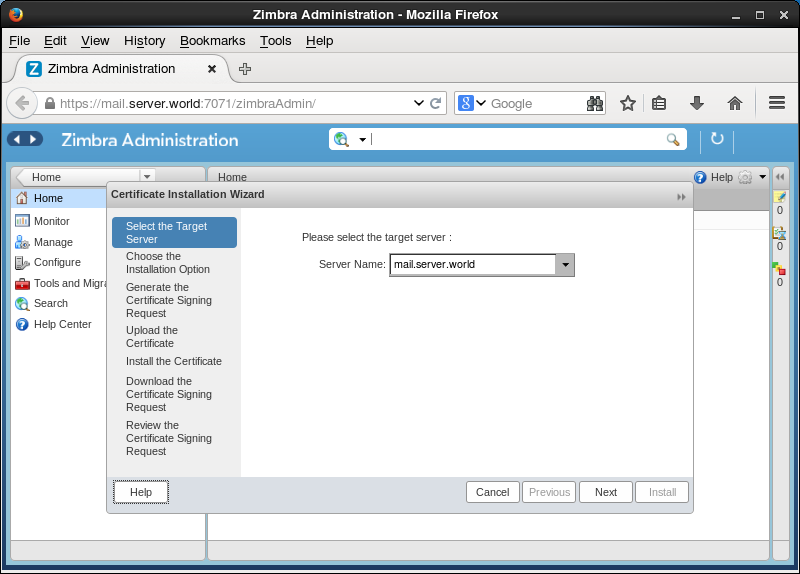
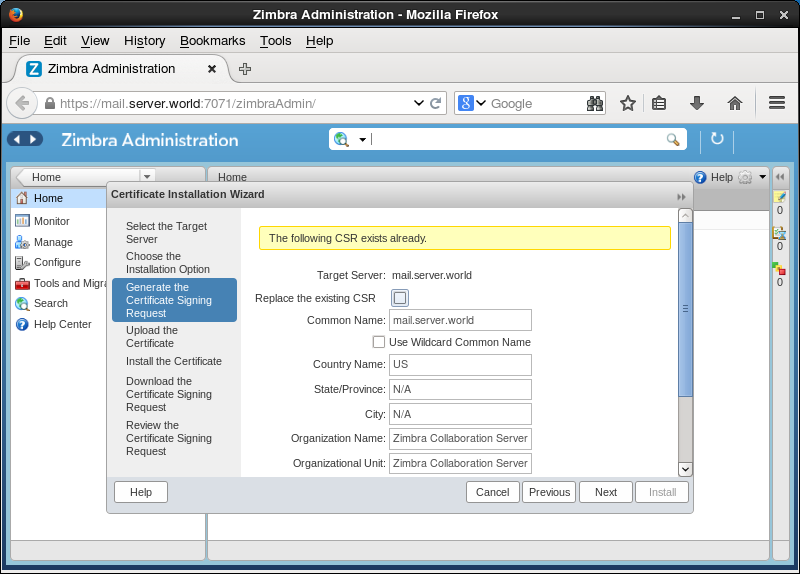
| [3] | Select target server and go next. |
|
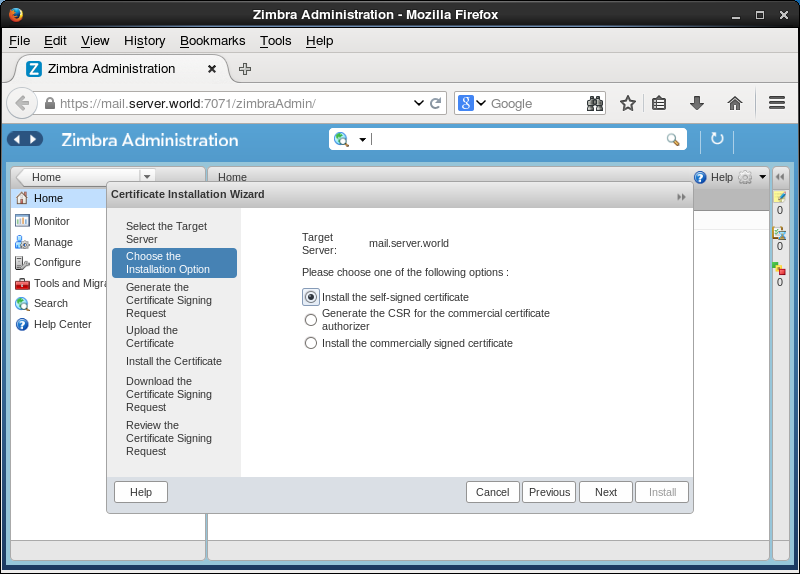
| [4] | This example proceeds with self-signed certificates. |
|
| [5] | Change fields if you need. This example proceeds with keeping default. |
|
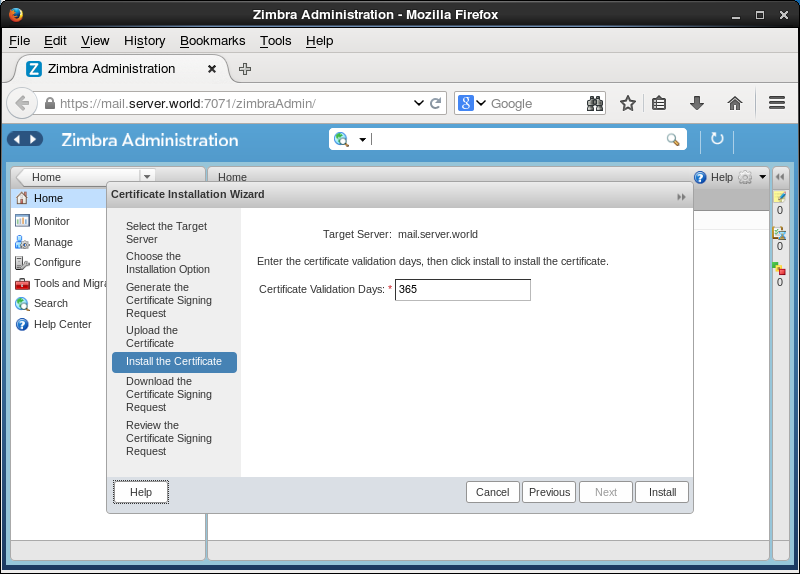
| [6] | Input effective days of certificates and click "install" button. |
|
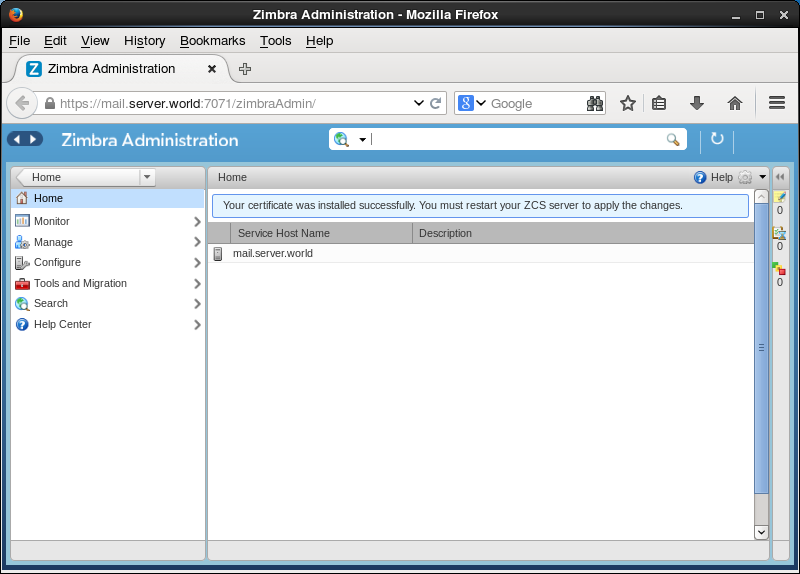
| [7] | Certificates are just installed. |
|
| [8] | Back to the first screen and click "manage" - "account" on the left menu and then click the icon on the right pane and select "New". |
|
|
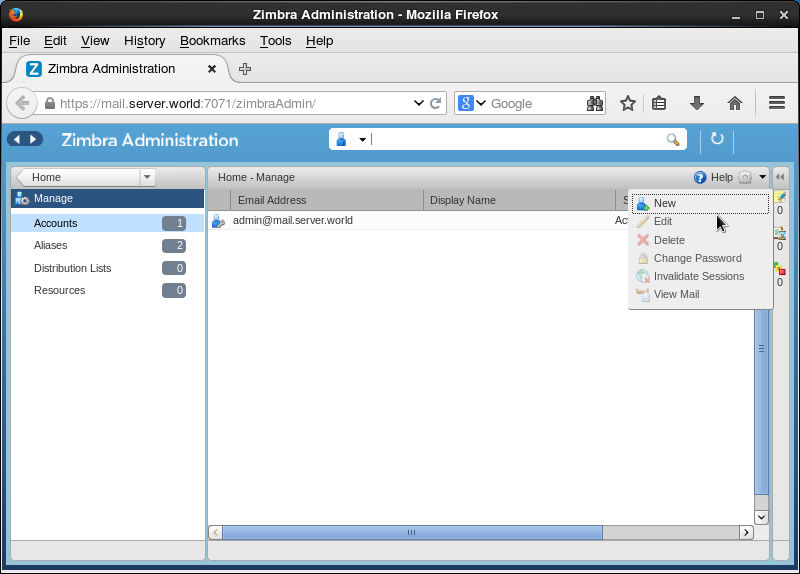
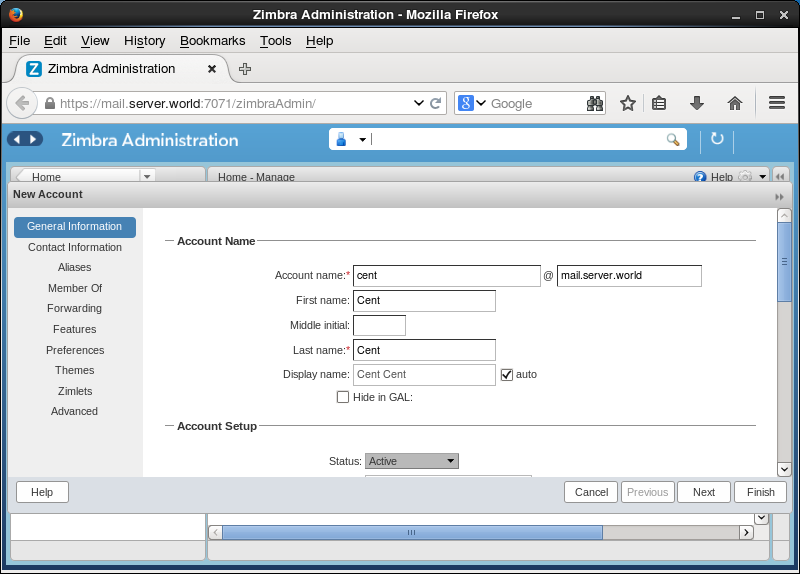
| [9] | Input account name and so on and scroll down. |
|
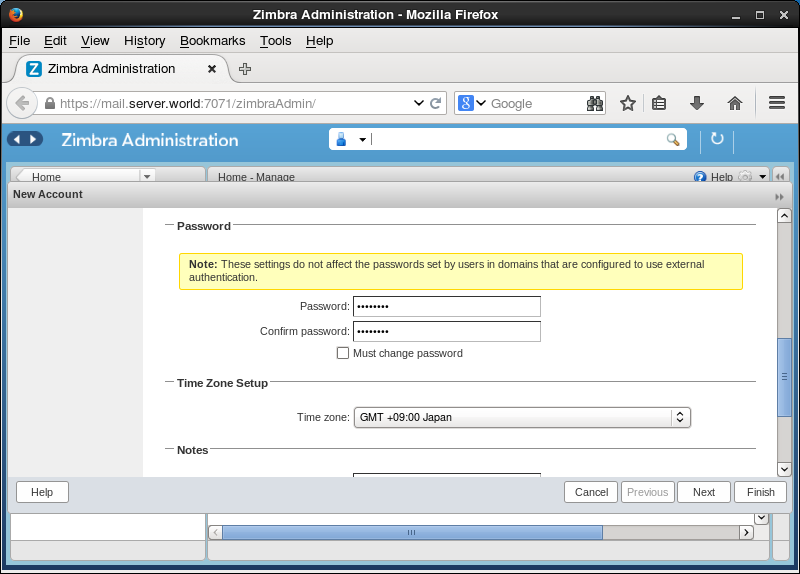
| [10] | Input password and set timezone and click "finish" button. |
|
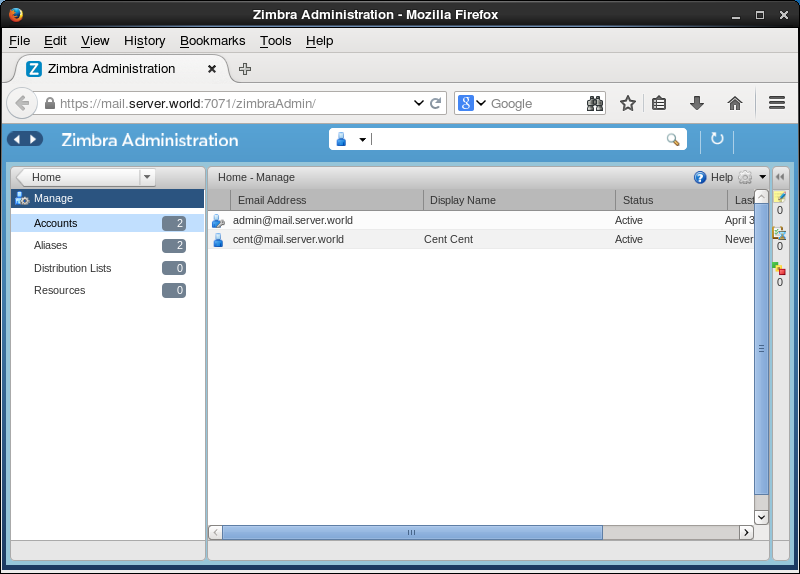
| [11] | New account is just added. Logout this admin console. |
|
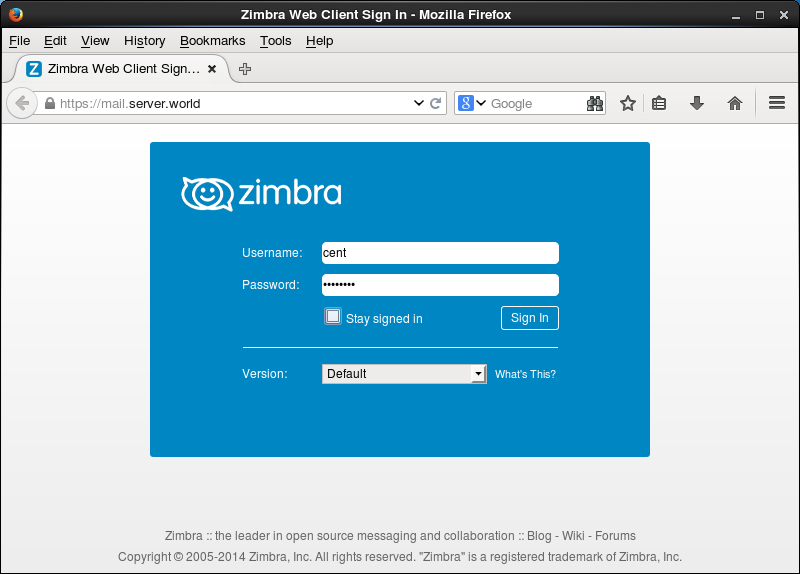
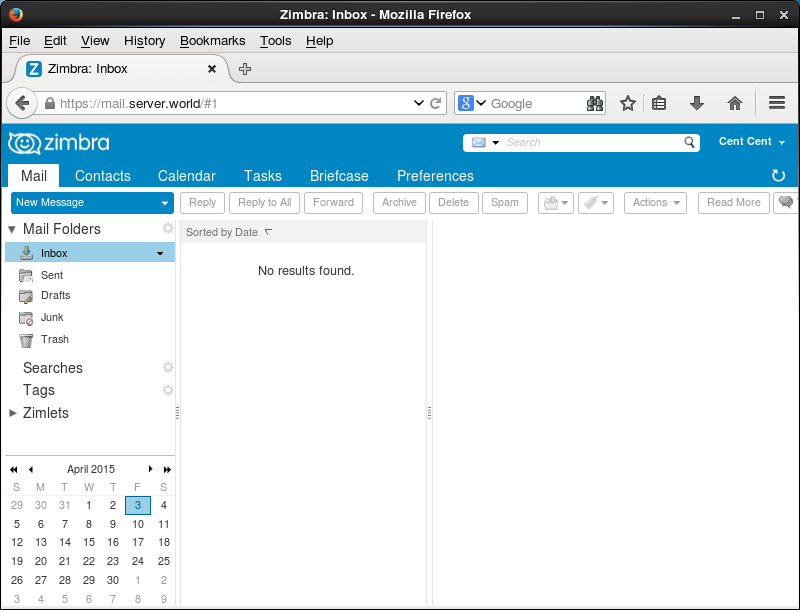
| [12] | Access to "https://(hostname or IP address)/" and login with a user and password you added. |
|
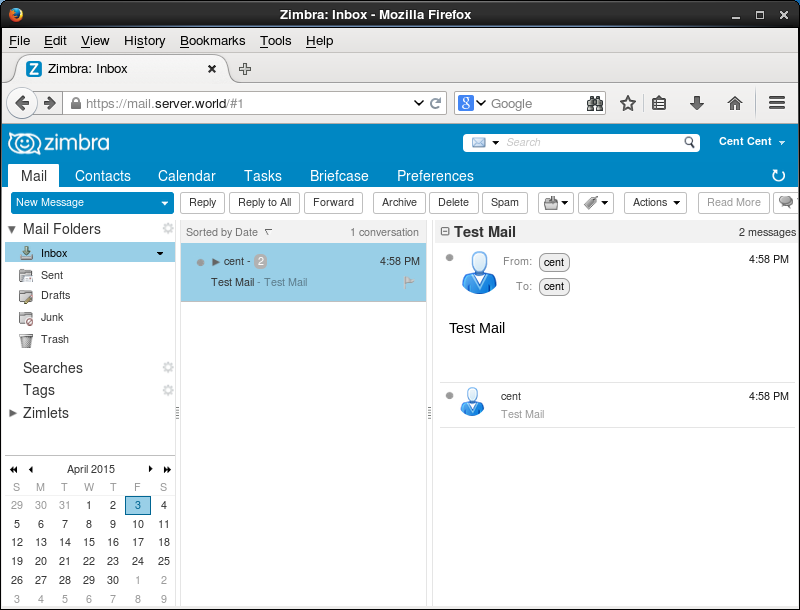
| [13] | If you could login normally, try to send an email as test. |
|
| [14] | Just sent normally. |
|